Gesso Grounds from Ancient Recipes

 Learning from artists' manuscripts, a contemporary artist adapts a 15th-century recipe for preparing grounds for oil painting on wood panels.
In her book, The Art of Arts, Anita Albus discusses materials and practices of oil and tempera painting that have either been lost or fallen into disuse. Albus makes a poignant observation that ever since the industrial revolution, industry dictates what materials are available to artists. Gesso production falls into this category alongside the preparation of paints and mediums. Artists have succumbed to the materials handed to us. She reminds us that before industrialization and typical of the European artists' guilds of the 15th and 16th centuries, it was primarily the artists who prepared their formulas and concoctions in painting.[1]
I began making gesso 20 years ago because it gave me a sense of control over the appearance of oil paint. After graduate school, I was frustrated by my lack of understanding of artists' materials. I began researching different oil painting techniques, such as multiple layering-glazing. My peers used direct or alla prima painting exclusively. Glazing in an oil medium requires a ground that is more substantial than the common acrylic ground.
Adaptation of Cennino Cennini's Recipe
I am about to describe an adaptation of the gesso formula described by Cennino Cennini in his Il Libro dell Arte.[2] This formula is for rigid supports such as a wood panel. To use it on canvas, decrease the strength of the size formula: 100 grams glue to one liter of water for panels and 70 grams glue to one liter of water for canvas. The following materials are required:
- Gypsum. Hydrated calcium sulfate. (Also called light spar. It is raw, unroasted plaster.)
- Zinc white pigment
- Clean tap water or distilled water
- Cheesecloth
- Weighing scale
- Glass measuring cup
- Newspapers or drop cloth
- Wooden spoon or medium-large bristle glue brush
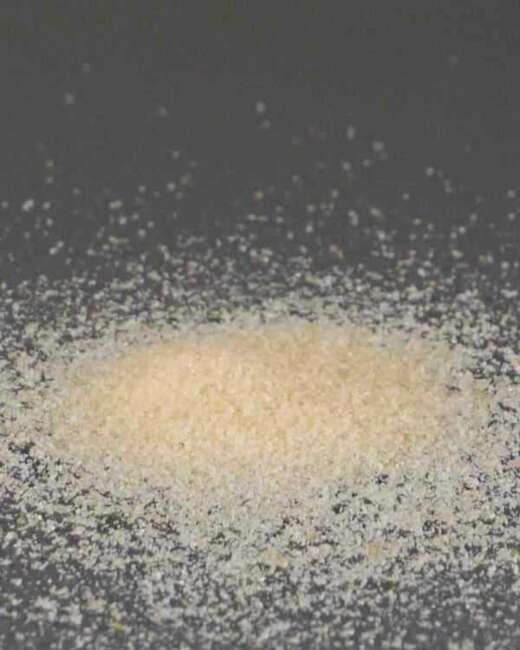
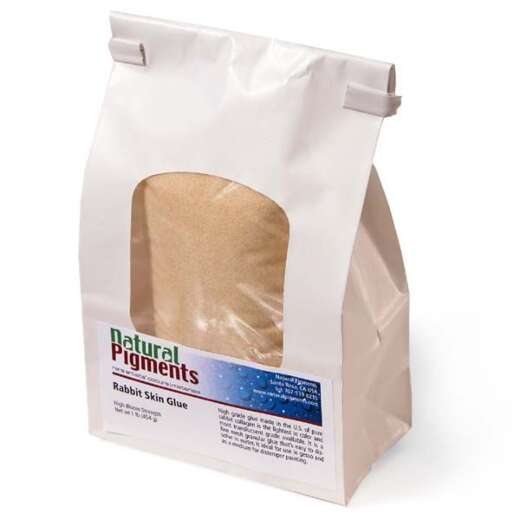
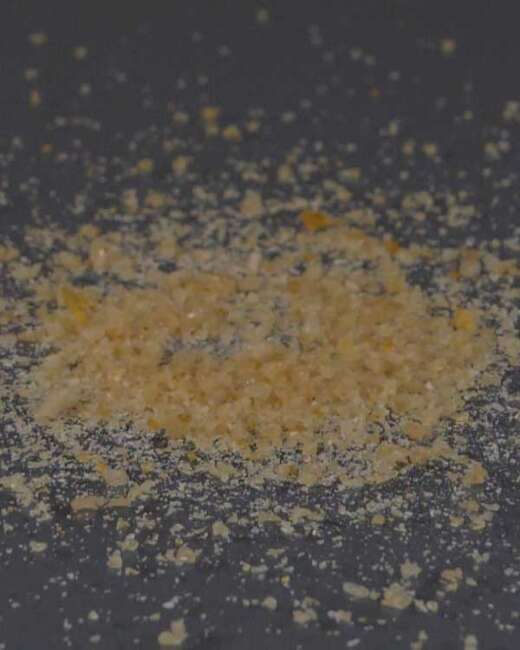
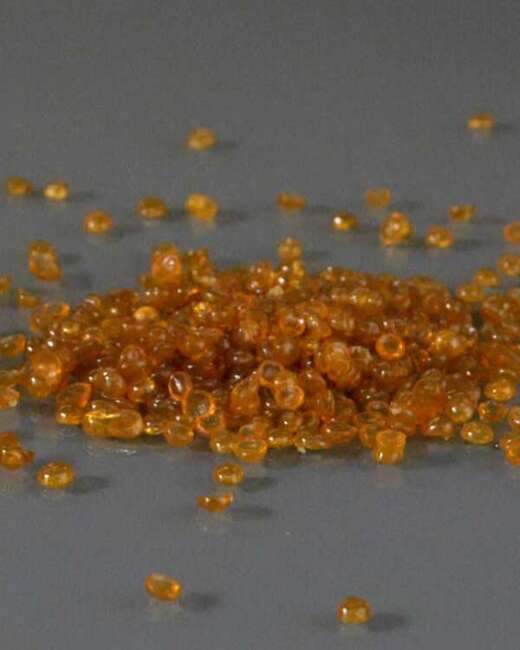
- Rabbit skin glue (I prefer the kind in sheets, however, the granular form will work well as long as it is of good quality)
- Electric hotplate with temperature control
- Double boiler
Sizing the Panel
The panel should already be sized with a 1:10 solution of rabbit skin glue and water heated in a double boiler. Let the glue sit in cold water and soak overnight or for an hour or two. Never boil rabbit skin glue. It should be applied hot to all sides of the panel and thoroughly dried for 2–3 days. A second size is recommended.
Preparing the Gesso Ground
Begin making the gesso by heating 8 ounces of the size solution in the double boiler. Never overheat it. When the size is hot, remove the upper pan from the lower one on the hot plate. Turn the hotplate temperature low—mix one part zinc white pigment with two parts gypsum. Add 12 ounces of the gypsum mixture to the size very slowly, sprinkling it in little by little, being careful not to form lumps. Eventually, use a tablespoon to scatter the remainder of the gypsum into the solution by sprinkling it around the bowl's perimeter to avoid a build-up in the center.[3]
Using either a sizeable stiff glue brush or a wooden spoon (I prefer the spoon), stir the mixture very carefully, avoiding rapid movements. The point is to stir, not mix thoroughly. The gesso incorporates on its own in the next step.
Pour the gesso into a clean bowl. Clean the double boiler and brush or spoon. Stretch two layers of cheesecloth over the clean double boiler and pour the gesso through it slowly and carefully. Use your brush to get all the gesso out of the bowl and through the sieve.
Remove the cheesecloth. Wash your spoon or brush and carefully stir the gesso again. At this point, the gesso may have cooled and congealed. Place it over the boiler to ensure the water is very hot, and stir until it liquefies, then remove it immediately. Excessive heat will create air bubbles in the gesso, ruining the gessoed surface.
Applying Gesso to the Panel
The first layer is applied by stippling the brush loaded with warm gesso onto the board, being careful not to apply an excessive amount while tapping and pushing the brush on the surface—alternate applications of gesso with a brush coat followed by a tap coat. The surface should begin to dry but still be moist between layers. Thorough drying requires a few days of dry weather. Avoid direct heat from sunlight or other sources. Alternate the directions of your brush strokes in each layer, building up the gesso coat to 6–8 layers.
To achieve a smooth, luminous surface, scrape the panel using a steel scraper with a straight edge 2 or 3 inches wide. The corners should be rounded off on a grindstone. However, it should have a slight burr on the edge. Hold the scraper vertically with both hands and place your thumbs firmly on the side facing you. With the burred edge facing you, pull it towards you. With the proper burred edge, you should get a scraped rectangle. To achieve the appropriate burr, use an Arkansas oilstone. Work carefully. Do not linger in one spot. Move in a criss-cross pattern until the panel is complete.[4]
Tempering the Panel to Control Absorbency
Wipe the scraped panel free of dust with a damp cloth. After the panel has dried for several days or at least overnight, it needs to be tempered. Tempering a panel means making it less absorbent. Through much trial and error, I have found that one thin coat of fossil resin varnish (copal or amber) is sufficient. Bleached shellac may also be used. Use a 2- or 3-inch wide brush and load it completely with shellac. Without this thin layer, paint soaks into the ground, thus compromising the integrity and otherwise permanent luminosity of the ground.
Troubleshooting
Let the panel dry for several days. Now is an excellent time to check for defects in the panel:
| Defect | Probable Cause |
| Tiny air bubbles | Size and/or gesso applied too hot |
| A small pattern of cracks (Usually not visible until a few months after gesso is applied) | Too much glue in size or too strong a mixture |
| Gesso flaking off | Too little glue in size (too weak a mixture) |
| Streaks in gesso surface | Not properly scraped |
| Specks of white dots | Not properly disbursed zinc pigment (incomplete mixing of gypsum and zinc pigment) |
Unfortunately, there is no remedy for the first three defects. Streaks can be smoothed out, and the pigment defect can also be smoothed down and lived with.
I strongly suggest reading the first chapter of Max Doerner's The Materials of the Artist and Their Use in Painting. Doerner gives an excellent general overview of grounds and glues. Practical information can also be found in The Practice of Tempera Painting by Daniel V. Thompson, Jr. Other references I list below should be consulted and carefully poured over. It is important to discriminate between those that write about the "idea" of artists' materials and those whose writings use primary and secondary historical references that are less theoretical and likely based on artistic practice.
Finally, I warn you about taking any of these formulas literally. Much can be lost in translations. Much more has been lost by misinformation. I have found valuable information in Doerner and Ralph Mayer. I have also found uncorroborated observations in both of their books. (I refer to their discussion of natural fossil resins and their use as a painting media.)
One must treat gesso making as a delicate process, not to be rushed through, but approached methodically and with contemplation. The same holds when consulting historical treatises and other writings about technical art history.
Notes
1. Albus, Anita, The Art of Arts: Rediscovering Painting, Michael Robertson, trans. (Berkeley, California: University of California Press, 2000) pp. 273, 274.
2. Cennini, Cennino d'Andrea, The Craftsman's Handbook "Il Libro dell Arte," Daniel V. Thompson, Jr., trans. (New York: Dover Publications, 1960) pp. 69–74.
3. Thompson, Jr., Daniel V., The Practice of Tempera Painting, (New York: Dover Publications, 1962) pp. 25–27.
4. Thompson, pp. 30, 31.
Further Reading
Doerner, Max, The Materials of the Artist and Their Use in Painting, Eugen Neuhaus, trans. (New York: Harcourt Brace & Company, 1984).
Eastlake, Sir Charles, Methods and Materials of the Great Schools and Masters, Vol. 2., (New York: Dover Publications, 1960).
Gottsegen, Mark D., A Manual of Painting Materials and Techniques, (New York: Watson-Guptil Publications, 1993).
Laurie, A.P., The Painters Methods, and Materials, (New York: Dover Publications, 1960).
Merrifield, Mary P., Medieval and Renaissance Treatises on the Arts of Painting, (New York: Dover Publications, 1967).
Thompson, Jr., Daniel V., Materials and Techniques of Medieval Painting, (New York: Dover Publications, 1956).
© 2001 Tom Irizarry, www.tomirizarry.com

